This cut pumpkin can hang on your wall from September to November. If you want to make it look more like a Jack o lantern then add a temporary face and legs or hat. Then remove for Thanksgiving.
http://www.keepingitsimplecrafts.com/2016/09/apple-crafts-and-recipes-mmm-347-block.html?utm_source=feedburner&utm_medium=feed&utm_campaign=Feed:%20blogspot/fGMKF%20(Keeping%20it%20Simple)
Showing posts with label pumpkin. Show all posts
September 14, 2016
Deco Mesh Pumpkin for fall or halloween
Labels:
Deco Mesh,
Fall,
Halloween,
pumpkin,
Thanksgiving
September 7, 2016
Wood pumpkin
I have been going crazy making fall pumpkins. This one is so easy. I just painted the wood, glued the picks to the back, put a picture hanger on the back and its done.
Happy Fall!
linked too http://bec4-beyondthepicketfence.blogspot.com/2016/09/talk-of-town-link-party.html#morehttp://www.keepingitsimplecrafts.com/2016/09/apple-crafts-and-recipes-mmm-347-block.html?utm_source=feedburner&utm_medium=feed&utm_campaign=Feed:%20blogspot/fGMKF%20(Keeping%20it%20Simple)
Labels:
Fall,
pumpkin,
wood projects
September 5, 2016
My Second Paper Mache Pumpkin
This spooky guy is my second paper mache pumpkin. I made one about 4 years ago when we lived in Washington. You will see a picture of the first on at the end of this post.
I took pictures of some of the process. I skipped the 15 layers of paper mache and started when the pumpkin was getting ready to be detailed.
After the fifteen layers of paper mache is dry it looks like this. I used for the layers just strips of newspaper and watered down glue.
I then cut out the bottom whole and the face.
Then comes the paper mache paste. It goes around all the cut out face and helps you give the stem and pumpkins the authentic pumpkins look with the vines wrapping down the pumpkin and around the stem.
After this first layer I realized it needed more and so I made the vines thicker and eyes thicker so that they popped.
The last layer of paper mache is paper towels. I gives the paste a smooth look. It also makes it easier to add dimension with paint because the towel is all wrinkly around the pumpkin so even though I said it smooths it out it is anything but smooth.
I Then paint the inside and out side the basic color I want it to have.
I then use the dry brush technique with all the different colors to give the pumpkin dimension.
Black, Red, Oranges, and Browns on the pumpkin. Browns Greens' and Orange on the stem give the pumpkin its pop.
Here they are together. Old and new. Last I sprayed a Rust-oleum clear coat spray to seal it and you are done.
These two guys are going to be a great addition to my Halloween display.
linked too http://bec4-beyondthepicketfence.blogspot.com/2016/09/talk-of-town-link-party.html#morehttp://www.keepingitsimplecrafts.com/2016/09/apple-crafts-and-recipes-mmm-347-block.html?utm_source=feedburner&utm_medium=feed&utm_campaign=Feed:%20blogspot/fGMKF%20(Keeping%20it%20Simple)

September 1, 2016
Paper Mache Pumpkin
Labels:
decorations,
Halloween,
pumpkin
August 11, 2016
Fall lantern swag
I am not sure if I am done with the swag. I might add more stuff to it. It is also not hanging on the lantern the way I would like so I need to adjust it. But for now it will work.
Labels:
decorations,
Fall,
Lantern Swag,
pumpkin
September 25, 2015
Finished Pumpkin Stand box
Labels:
Fall,
Halloween,
pumpkin,
wood projects
September 17, 2015
Rustic Decorative Pumpkin Stand
Have you ever been to a Home Depot Weekly Workshop? I went tonight. I made this Rustic Decorative Pumpkin Stand. It was really cool. I was lucky enough to make my own. Usually they show you how to make one and you then go home and make your own. I will paint this bad boy and then put it on the front porch next my my door with mums in it.
I took my husband to the class. However He didn't stick around because the teacher lacked in basic safety. She made it through the class but she didn't have a good working knowlege of the power equipment. We also looked at the wrong cuting direction for the box and so I had to cut my pumpkin shorted about 2 1/2 inches. The lady in this picture is not the teacher she is a fellow student. The end results came out ok and I am happy with my project.
If you ever have a chance to go one of the workshops take the opportunity.
Labels:
Fall,
pumpkin,
wood projects
October 13, 2014
August 25, 2014
Halloween decorations that I have started to make for 2014
I love this time a year. Pinterest has so many great ideas. I started making some of the decoration I saw on pinterest. I have so many that I am wanting to make I had to start now so I could be done by Oct 1st.
I made this paper mache pumpkin last year but was afraid to paint it. Well I got over my fears and did it. I need to seal it before it can go out side but it turned out so scary.
These foam signs will hang on a tree branch light pole that I have not finished yet.
And last my scary drippy candles made from PVC
pipes.
These are so awesome. I am looking for more projects to start on, for the next few weeks.
Happy Halloween!!


Labels:
decorations,
Halloween,
pumpkin
October 31, 2013
Happy All Hallow's Eve
These are just some of the Halloween projects that I have made this year. As you can see I chickened out and did not paint my paper mache pumpkin. But look how cool he is going to look on an old black widow costume.
spiders attack.
spooky Mummy.
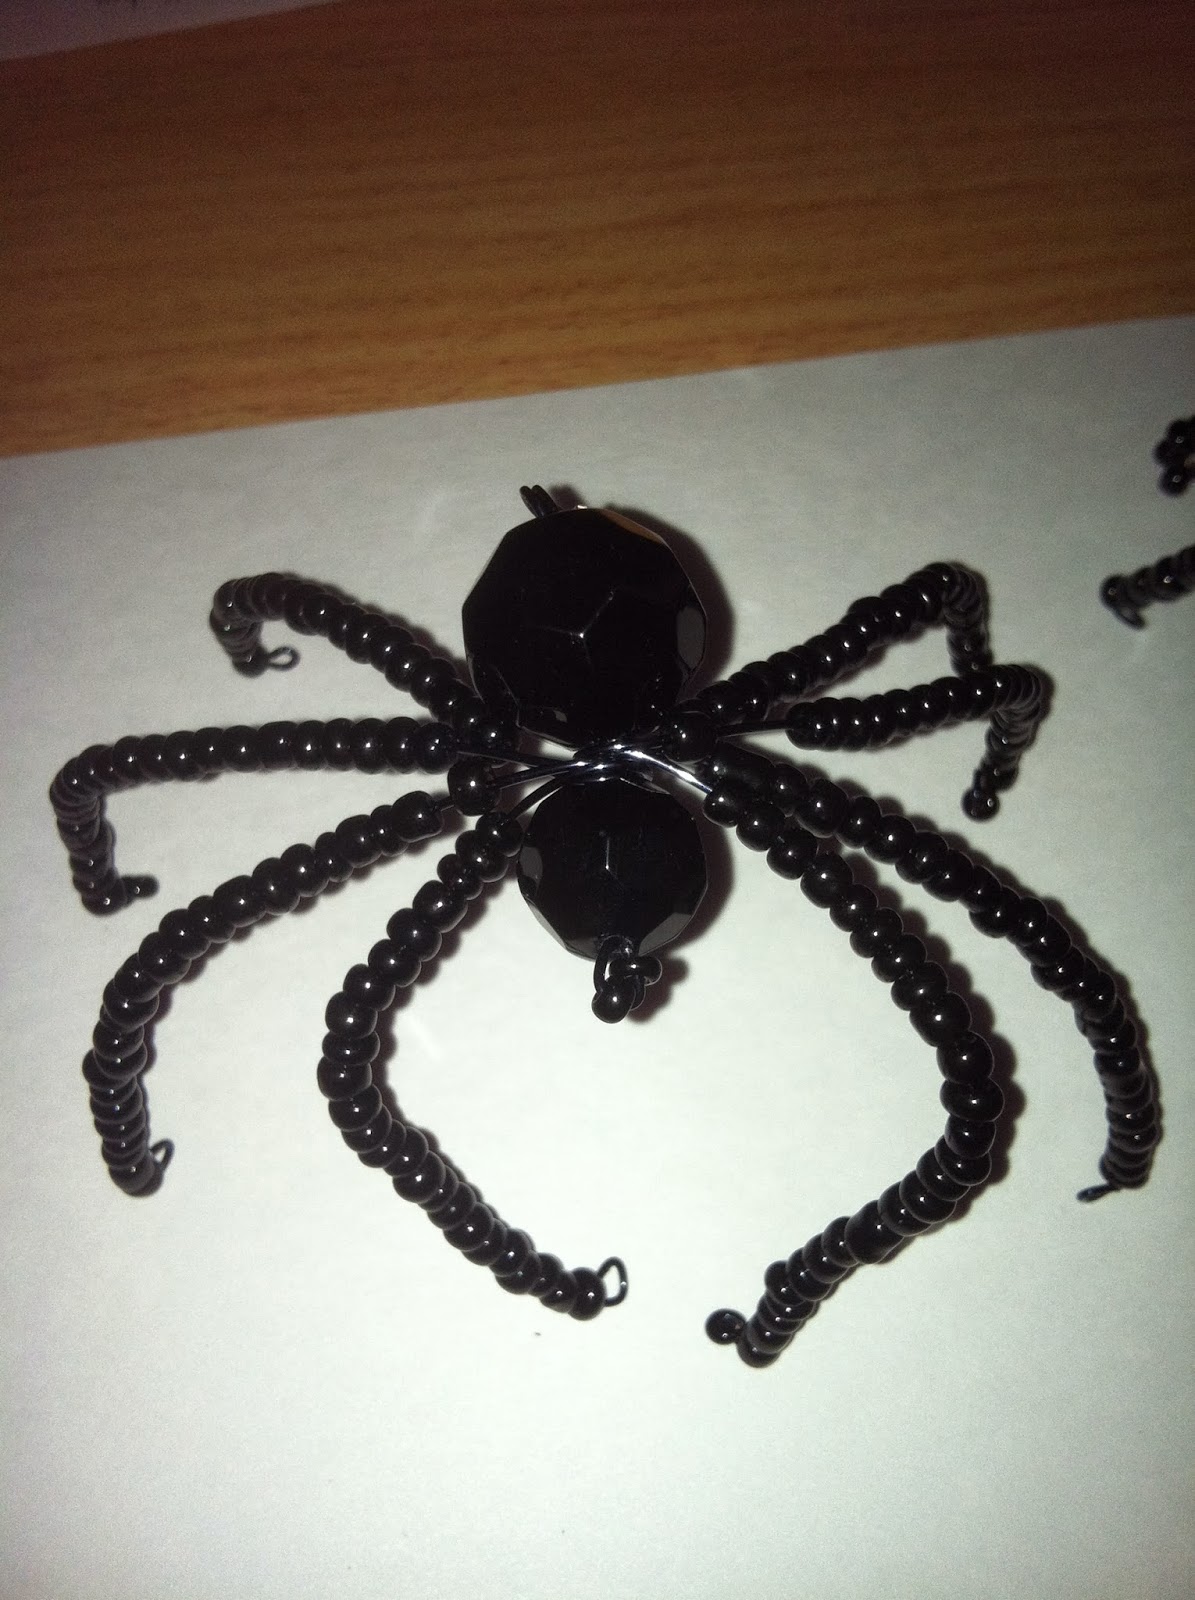
spider beads.
Come back tomorrow to see the kids in costume and my outdoor decor.
spiders attack.
spooky Mummy.
spider beads.
Come back tomorrow to see the kids in costume and my outdoor decor.
Happy Happy Happy Halloween!
Labels:
beads,
felt craft,
Halloween,
pumpkin
September 20, 2013
Subscribe to:
Posts (Atom)