Army wife quilter

Showing posts with label Tutorial Time. Show all posts

February 16, 2011

His and Hers ACU's


These are my Husbands work pants for the Army. They are called ACU's.  I like the feel of the ACU's.  I thought what would they look like as a skirt.  You know so they would look more feminine.


Is this much more feminine.  To make this I:
So I took a pair that had frayed ends and unpicked the inseam.  Laid it out and cut the legs off below the knee.

I marked the butt.  Sewed straight down making sure to match the butt seam.  Then sewed it again down the front a quarter of in inch  from first stitch.
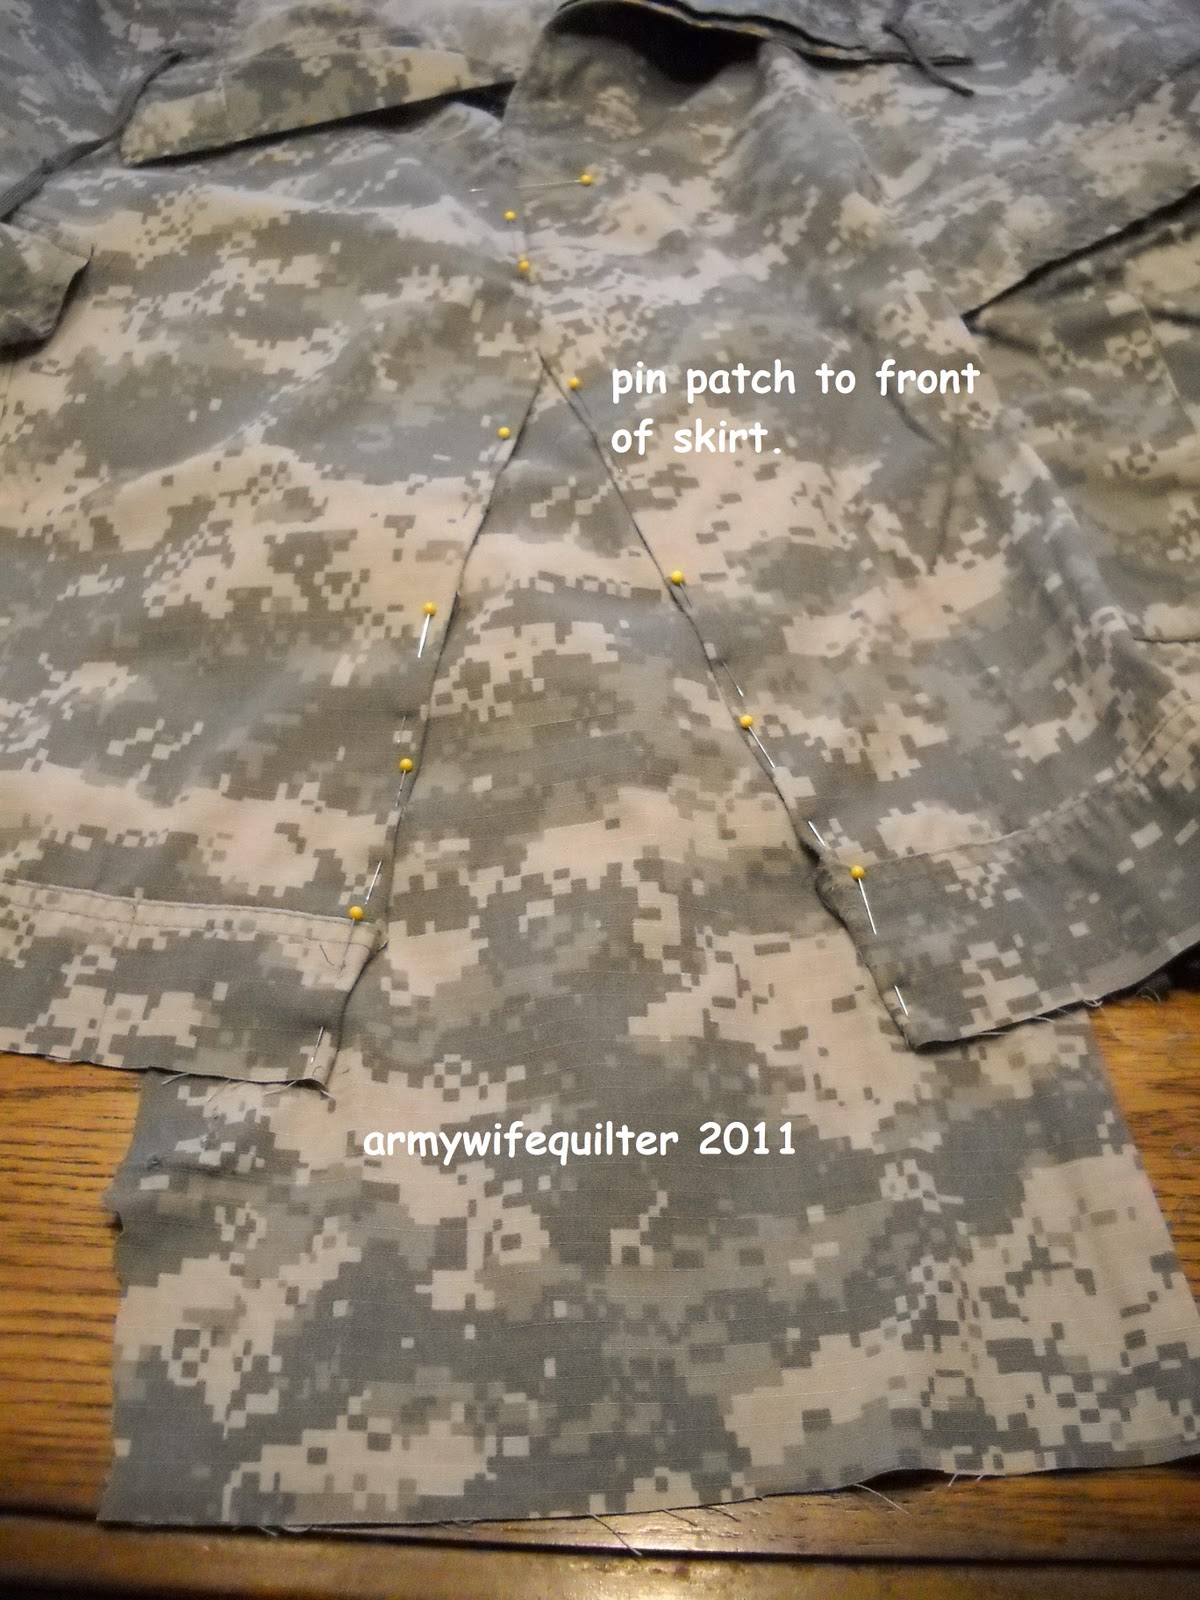
With the extra material I laid it under the front opening and pin it to the patch.  Then I sewed down both sides twice like the back seam.  then I finished the raw edges off.  I hemmed the bottom and "walla"
This is the back.  See the oval  that is the butt patch of the ACU's make this cool pattern.
The front with the patch.
The Side view with the big cargo pockets. 
His and hers ACU's.  Isn't it cute.


Creations by Kara
Show and Tell GreenHouseofHepworthsBeyond The Picket Fence Punkin Seed Productions
Photobucketmonogram
PhotobucketPhotobucketTip Junkie handmade projects


February 9, 2011

Initials Here Please!

I did this project with my 4 year old yesterday. She loves doing project. This project is going up in her newly painted pink and white bedroom.  


The next few pictures show you how we did the initials.  Kind of like a tutorial, but without all descriptions.  I think the pictures are self explanatory.  OK so I am being lazy. 


She had to have a little bling on the initial which I would not have done, but she is four and it was her initial.

Also today I was driving around my neighborhood and found these finds as a result of the wind damaged fences from last weeks winter storm.
I see many project in this. Especially since I ordered my Valspar free paint sample yesterday. Yepee! My husband is going to think I am crazy.  Have a great day.


 Creations by KaraIt's a KeeperHookingupwithHoHPhotobucketMaking

December 1, 2010

Light Bulb Snowman


Light Bulb Snowman
My neighbor suggested this project. This is a easy project and so very cute.  It does take some time to make.  You have to be patient to let it dry in steps.  But it is well worth the wait.

You will need :
 Black paint
White paint
Mog Podge
wire
ribbon
black felt 3x3 square
buttons for nose and hat
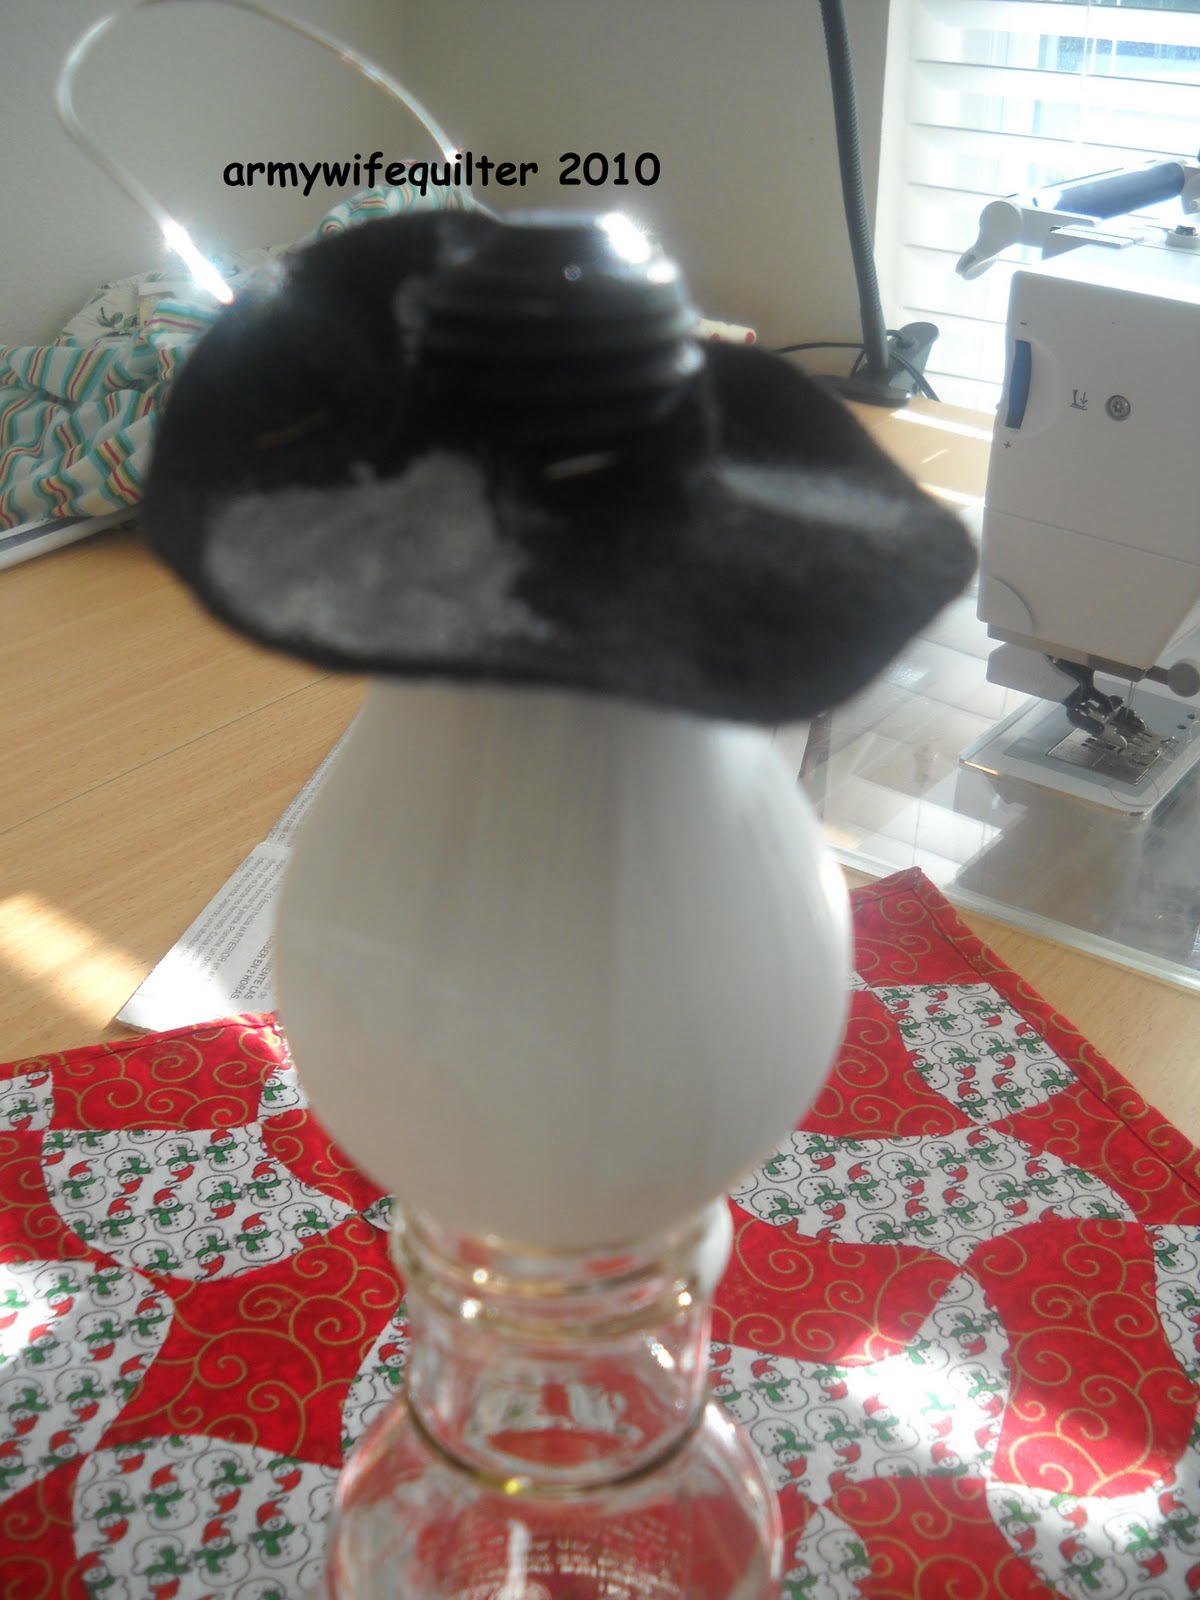
 Paint your light bulb.  I set it in a bottle as not to have to hold it.
 Paint the bottle black after bulb drys.
Cut square into circle.  Fold in half cut a slit in center 1/3 in.  Fold circle the other way and cut a slit 1/3 in. Paint white on hat.
 form wire around bulb.  Then take it off.
 Put on hat then wire on.
 Put hot glue around hat and put on ribbon.  this catches three things at once.  The hat, wire and ribbon to stem of bulb.
 Glue on buttons on the hat.

Draw face. Mod Podge bulb and stem. Your done.  However, Please, What Ever You Do. . .
. . . Don' t drop the bulb.

HookingupwithHoHBeyond The Picket FenceCreations by KaraPunkin Seed Productions
Photobucketmonogram