Army wife quilter

September 7, 2016

Wood pumpkin


I have been going crazy making fall pumpkins.  This one is so easy.  I just painted the wood, glued the picks to the back, put a picture hanger on the back and its done.
Happy Fall!
linked too http://bec4-beyondthepicketfence.blogspot.com/2016/09/talk-of-town-link-party.html#more
http://www.keepingitsimplecrafts.com/2016/09/apple-crafts-and-recipes-mmm-347-block.html?utm_source=feedburner&utm_medium=feed&utm_campaign=Feed:%20blogspot/fGMKF%20(Keeping%20it%20Simple)

September 5, 2016

My Second Paper Mache Pumpkin

This spooky guy is my second paper mache pumpkin.  I made one about 4 years ago when we lived in Washington.  You will see a picture of the first on at the end of this post.
I took pictures of some of the process.  I skipped the 15 layers of paper mache and started when the pumpkin was getting ready to be detailed.

After the fifteen layers of paper mache is dry it looks like this.  I used for the layers just strips of newspaper and watered down glue.

I then cut out the bottom whole and the face.


Then comes the paper mache paste.  It goes around all the cut out face and helps you give the stem and pumpkins the authentic pumpkins look with the vines wrapping down the pumpkin and around the stem. 
After this first layer I realized it needed more and so I made the vines thicker and eyes thicker so that they popped.

The last layer of paper mache is paper towels.  I gives the paste a smooth look.  It also makes it easier to add dimension with paint because the towel is all wrinkly around the pumpkin so even though I said it smooths it out it is anything but smooth.


I Then paint the inside and out side the basic color I want it to have. 

 I then use the dry brush technique with all the different colors to give the pumpkin dimension.
Black, Red, Oranges, and Browns on the pumpkin.  Browns Greens' and Orange on the stem give the pumpkin its pop.

Here they are together. Old and new. Last I sprayed a Rust-oleum clear coat spray to seal it and you are done.

These two guys are going to be a great addition to my Halloween display.
linked too  http://bec4-beyondthepicketfence.blogspot.com/2016/09/talk-of-town-link-party.html#more
http://www.keepingitsimplecrafts.com/2016/09/apple-crafts-and-recipes-mmm-347-block.html?utm_source=feedburner&utm_medium=feed&utm_campaign=Feed:%20blogspot/fGMKF%20(Keeping%20it%20Simple)

September 1, 2016

Paper Mache Pumpkin

 I  love this time of year.  The colors. The holidays. The decorations. 


Paper Mache Pumpkins are the coolest.  I still need to paint it but this is the process of making one. Ok so they are out of order but you get the idea.

August 11, 2016

Fall lantern swag


Fall is coming and to get ready I changed my Patriotic lantern to a Fall lantern.  I popped over to Hobby Lobby for supplies and came up with this Fall lantern.

I am not sure if I am done with the swag.  I might add more stuff to it.  It is also not hanging on the lantern the way I would like so I need to adjust it. But for now it will work.


August 6, 2016

Row By Row

 I have been working on more of the Rows that I have collected.
 Each on is unique.
 It is interesting how every store interprets the theme "Home Sweet Home".  Some I can see some I just scratch my head.  

July 10, 2016

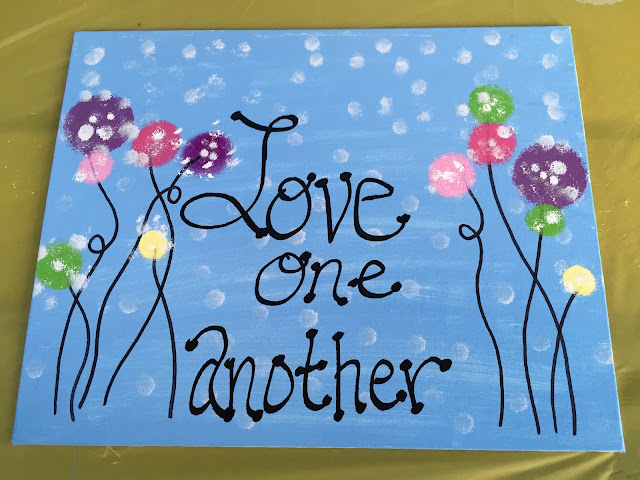
Love One Another


I am in no way a painter.  But we made this in Relief Society, this week painting in the park.
This is something I can do with my girls.

July 2, 2016

2016 Row by Row is in full swing

It is that time a year again. It is time for Row by Row experience.
I have collected six rows so far but I have only finished 4 1/2.  The four finished rows are from : Castle Rock, Palmer Lake, Monument and Parker CO.  

This kit was the most expensive I have ever bought.  It was $29.99.  All the pieces were laser cut. I just put the pieces on and ironed them on super easy.
Go visit your local quilt store and get a free pattern this summer