Army wife quilter

Showing posts with label Halloween. Show all posts

October 4, 2017

Halloween 2017

Yes it has been a long, long time since the last time I posted anything.  All I can say is life is crazy.

So, now that it is October and my favorite time of the year I need to post some of my new decoration projects for this year.

I always love Pinterest this time of year.  I copied this silhouette from  http://www.instructables.com/id/Halloween-Garage-Door-Silhouette/ 
  It turned out so cool that I will be making cow boy and girl  silhouettes for my kids Book fair this year.
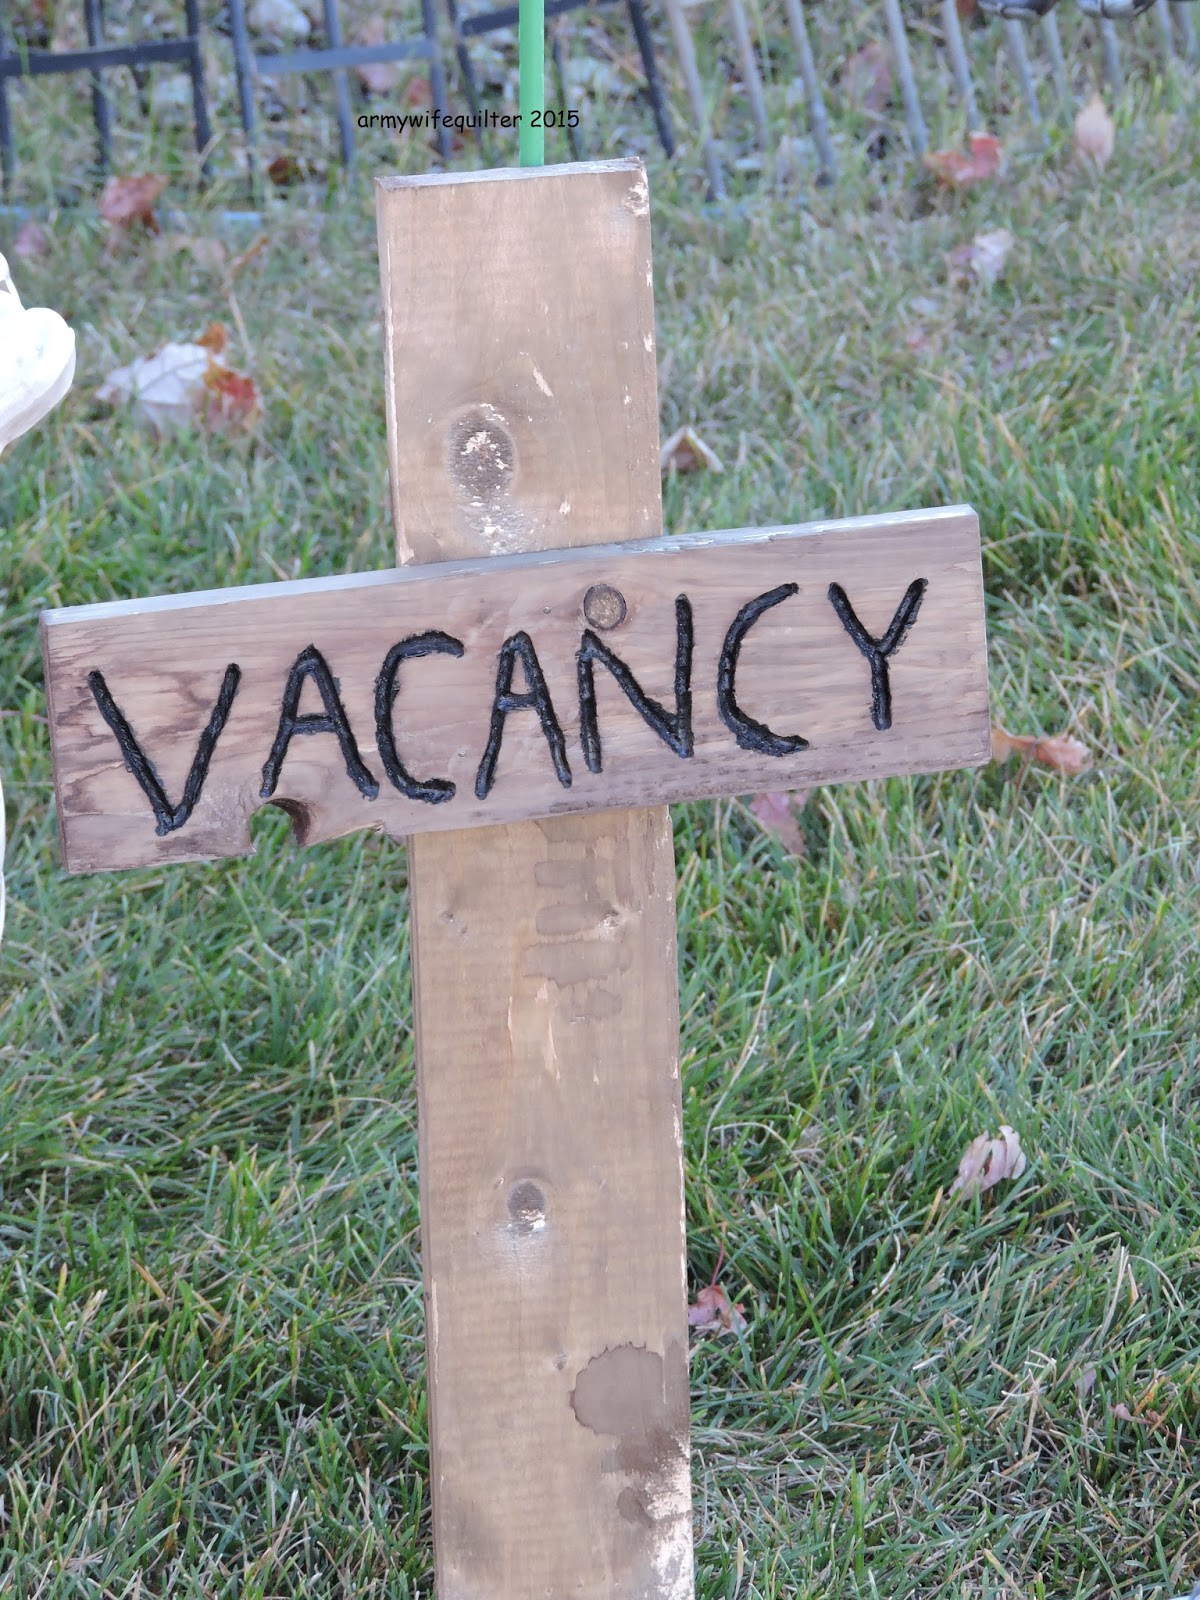
 Wood and a dremil and you are on your way to a fabulous project.
 Black paint and lights.
 Last year I found this fiberglass garden pot on the side of the road.  It had a huge crack down it.  I then painted it black.  This year I had to add more. I put black silvery sculls on it and added green lights and pool noodles in the pot for effect...  Then I made a wood box for the pot to sit on.  Added orange lights and hot glued branches to make it look like a fire.
Wait for dark and its perfect. I love, love, love. Halloween. 
Happy Haunting.

September 28, 2016

My Hermione Potions and Spell Book

I spent the last few days making a Halloween spell book.
You can find so many example and tutorials online at Pinterest so I did not make a tutorial.  It turned out so awesome.
"Hermione Potions Spells"


Follow the spiders on the back of the book.

I am thinking I need to make another because it is so easy and so very cool.

September 14, 2016

Deco Mesh Pumpkin for fall or halloween


This cut pumpkin can hang on your wall from September to November.  If you want to make it look more like a Jack o lantern then add a temporary face and legs or hat.  Then remove for Thanksgiving.
http://www.keepingitsimplecrafts.com/2016/09/apple-crafts-and-recipes-mmm-347-block.html?utm_source=feedburner&utm_medium=feed&utm_campaign=Feed:%20blogspot/fGMKF%20(Keeping%20it%20Simple)

September 5, 2016

My Second Paper Mache Pumpkin

This spooky guy is my second paper mache pumpkin.  I made one about 4 years ago when we lived in Washington.  You will see a picture of the first on at the end of this post.
I took pictures of some of the process.  I skipped the 15 layers of paper mache and started when the pumpkin was getting ready to be detailed.

After the fifteen layers of paper mache is dry it looks like this.  I used for the layers just strips of newspaper and watered down glue.

I then cut out the bottom whole and the face.


Then comes the paper mache paste.  It goes around all the cut out face and helps you give the stem and pumpkins the authentic pumpkins look with the vines wrapping down the pumpkin and around the stem. 
After this first layer I realized it needed more and so I made the vines thicker and eyes thicker so that they popped.

The last layer of paper mache is paper towels.  I gives the paste a smooth look.  It also makes it easier to add dimension with paint because the towel is all wrinkly around the pumpkin so even though I said it smooths it out it is anything but smooth.


I Then paint the inside and out side the basic color I want it to have. 

 I then use the dry brush technique with all the different colors to give the pumpkin dimension.
Black, Red, Oranges, and Browns on the pumpkin.  Browns Greens' and Orange on the stem give the pumpkin its pop.

Here they are together. Old and new. Last I sprayed a Rust-oleum clear coat spray to seal it and you are done.

These two guys are going to be a great addition to my Halloween display.
linked too  http://bec4-beyondthepicketfence.blogspot.com/2016/09/talk-of-town-link-party.html#more
http://www.keepingitsimplecrafts.com/2016/09/apple-crafts-and-recipes-mmm-347-block.html?utm_source=feedburner&utm_medium=feed&utm_campaign=Feed:%20blogspot/fGMKF%20(Keeping%20it%20Simple)

September 1, 2016

Paper Mache Pumpkin

 I  love this time of year.  The colors. The holidays. The decorations. 


Paper Mache Pumpkins are the coolest.  I still need to paint it but this is the process of making one. Ok so they are out of order but you get the idea.

October 30, 2015

Trunk or Treat

Tonight we went to Trunk or Treat at church.  My family went as Christmas gifts and the Trunk was a Christmas scene.
 My Hubby was not to happy.  He says it violates the Christmas rule.  No Christmas until after Thanksgiving.  

I did not care so much about this rule this year.  So I just smiled and said trick or treat.  I used moving boxes from the move and since I have lots of them it was free.  Wrapping I always buy more Christmas wrapping paper after Christmas.  I used my paints and took out some Christmas decorations and I was done.  Easy as pie.

We won second place in the Costume contest and first place for the Trunk.  To bad I didn't win in the Chile or Pie contest.  I entered those too. All in all it was a fun cold night.


Happy Halloween

October 29, 2015

Halloween Wreath updated


I have had this hanging on the wall on my front porch for weeks.  I just could not find the things to finish it off. 

Thanks to all the new Christmas picks that have arrived at Michael's, I found the big swirly things and added them and the pumpkin to finally finish this wreath.
I love the SouthernCharmWreaths.com funky bows. So far all the holiday wreaths I have made have been using this technique.

October 14, 2015

My Halloween Yard

 I started decorating my yard this week.  
This is how it is going so far.  Next I will be working on the porch. These however, are all pictures of the yard. Minus my blow up pumpkins that I will put out the night of halloween.  It is 12 years old and I would like it to last for a few more years.  Back to the yard.
When we moved from NY to CO they crated the big mirror from my bedroom set, so I had all this wood to make caskets and crosses. I first made the big casket.

I made the child size casket next.  

I had just enough to make the three Crosses to complete my Cemetery.  I do have a sign that says Cemetery but I didn't not take a good picture of the sign.

While I was making these signs I thougth my Dremel would be great to carve the words in the crosses.  That way they the sign might fade but you could still see the words.  I found this name from the list of cemetery tombstones at DisneyLand.  

Now I wish that I would have done this with my larger casket.  I wrote RIP with marker so this might not last through the season but I can always go back next year and fix that.

I have 5 skeletons.  Some of the skeletons came from Walmart.  I am not a fan of Walmart brand skeletons.  The head broke off last year during a wind storm. 

 Then this year as I was getting this one out of the box and moving it into position the leg broke off.  He is proped up on the tree and will not fall Zip ties are the best for decorating. The rest of my skeletons came from Target.  I like the ones from Target.  They have more detail to them and they look scary. 
This guy is just siting on the fence checking out the view. 

I love these trick or treat pumpkins.  I think I might have to get more and stack them all over the yard.  I plan to put LED tea lights in each so they are lit up for Halloween night.  That should look awesome. I will have strobe lights on my cemetery to make it more scary.

I have more room in my cemetery any takers?

Last but not least.  Beware of Zombies.

Happy Halloween.

October 12, 2015

Halloween Wreath


I am a big fan of Southern Charm Wreaths

logo


She has a book that shows you how to make all kinds of bows and wreaths.  
I made this funky bow Halloween wreath yesterday. I had to replace my old wreath.  It got messed up in the move.  I am still looking for the accent piece to go on the blank side.  I just have not found anything I like yet.  So it is not quite complete.  But it is hanging on the front porch non the less.

Last year I made a christmas wreath

Happy Halloween!


October 9, 2015

Halloween bow


My daughters were complaining they didnt have enough bows.  I made this for one of them today.  

October 7, 2015

Caskets for Halloween

Its that time of year again.  Time to make the outside and inside of my house spooky and cute at the same time.  As you can tell today I was working on caskets.

I saw this on pinterest and made my own.  You can find the project at  http://theladybirdblog.com/2012/10/25/diy-witches-goblins-and-ghouls-oh-my-chalkboard/


I might paint this or leave it I have not yet decided.

Next project is a new Halloween wreath.  My old one got messed up in the move.

Happy Halloweeeeeeeeeeeen!!!!


linked too: